How it works
Think of an MCP as a security badge you hand to Claude. Claude can walk into the rooms you authorized (calls, contacts, SMS, analytics), but never the rooms you didn’t. You can revoke the badge any time from your Claude or Allo settings. The setup takes around 60 seconds. No code, no API key.How to connect
Open Claude → Connectors
Go to claude.ai/customize/connectors, click +, and pick Add custom connector. You’re telling Claude you want to introduce it to a new tool.
Add Allo
In the modal, paste the values below. Open Advanced to add the Client ID. Leave Client Secret empty. These three values are Allo’s address and ID card. Just copy-paste, you don’t need to understand what they mean.
- Name:
Allo - Remote MCP server URL:
https://mcp.withallo.com/mcp - Advanced → Client ID:
b82803e6-31d4-47e0-9d7e-db9826ee451b
Sign in and authorize
Click Add, then Connect. Sign in to Allo, review the permissions, and Authorize. Allo never sees your Claude password, Claude never sees your Allo password.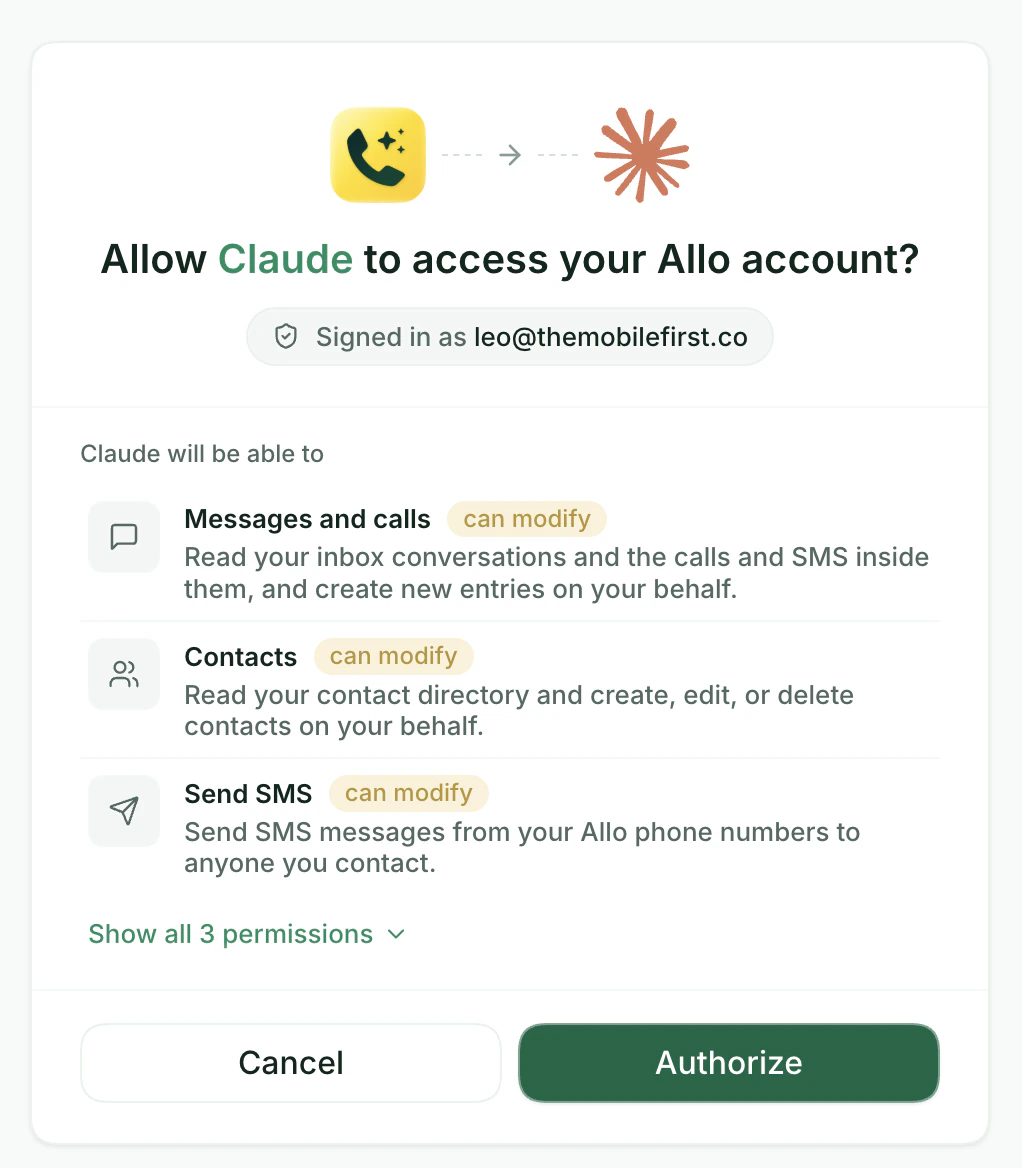
Try one of these
Copy any prompt below and paste it into Claude. Adjust the names and dates to match your team.Sales rep
Show me contacts I called more than twice but never closed. Suggest a follow-up messageManager
Compare my reps' connect rates this week vs last. Who's slipping?Founder
Pull all calls tagged "enterprise" from the last 30 days. Summarise the top asksOps
List contacts who called 3+ times last week with no owner. Tag them "needs follow-up"What you can do
Browse the full tools list →
16 tools to search calls, send SMS, manage contacts, and pull team analytics — full list with required scopes.
Troubleshooting
Authorization failed in Claude
Authorization failed in Claude
Tools not appearing in my Claude conversation
Tools not appearing in my Claude conversation
Reload the Claude conversation. Open the connector status panel in Claude and confirm Allo is listed as connected. If it isn’t, remove the connector and add it again following the steps above.
Why does Claude show a warning about an external connector?
Why does Claude show a warning about an external connector?
This is a standard MCP guard rail that Claude shows for any third-party connector — it’s not specific to Allo. It’s safe to proceed and authorize Allo.
Using Claude Code instead?
Claude Code + API key
For Claude Code, Claude Desktop, Cursor, or any other MCP client. Uses an API key — no admin required.